Friday, February 22, 2013
Texture Layers
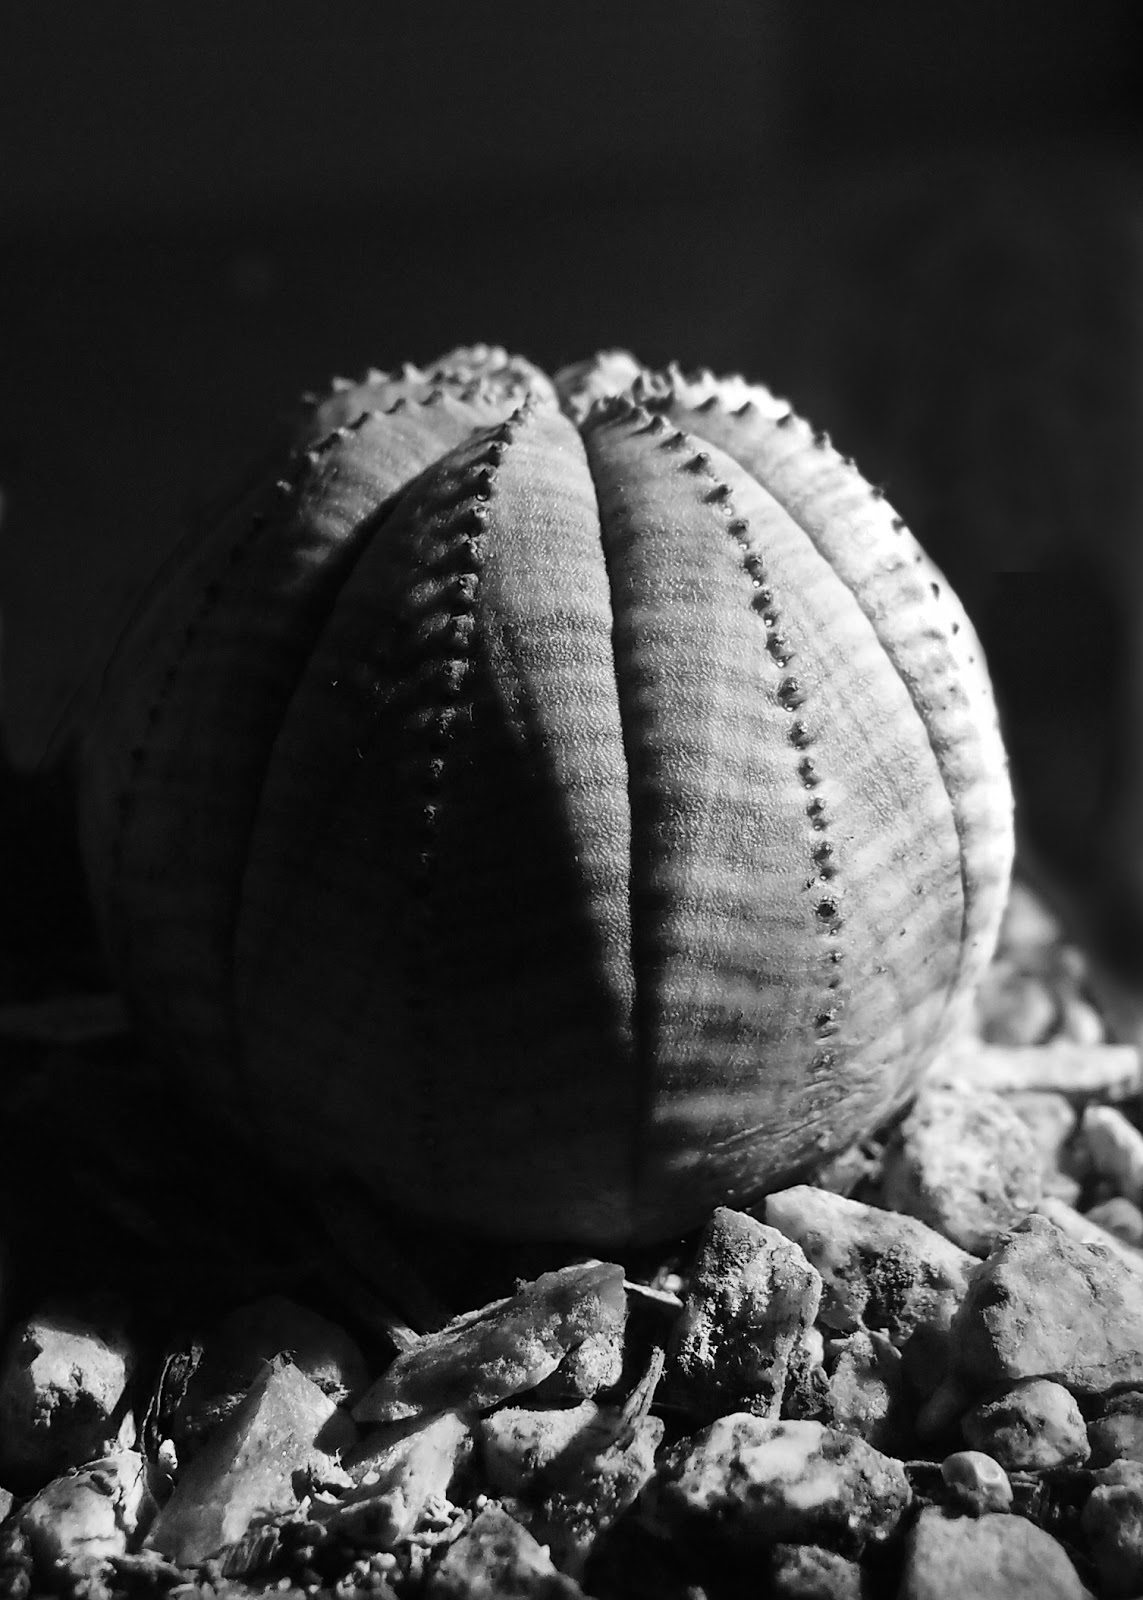
For this texture project, I went outside and took ten pictures that involved a lot of texture. Next I imported those images to LR and edited them mostly with tone curve and exposure and highlights, shadows, and midtones. Next, I exported the one I wanted, the bricks to the desktop. I then chose a picture that I'd taken previously this year of my dog on a trail and imported that to LR and edited it with the same things I edited the texture photos with. Next I imported the dog photo to PS and changed the size to 9 by 6. Next I imported the picture of the bricks to PS and changed the size to 9 by 6 also. Then, I selected all, copied and pasted the bricks to the dog photo. Then while in the bricks layer, I went to layer, layer styles, the to blending options. In blending options I changed opacity to 35%. Last, I created a layer mask for the bricks in layer, and clicked on the paint brush and changed the size to 63 and the color to black. Then I painted over my dog. To me this made my dog look like it was popping out and 3-D.
Wednesday, February 20, 2013
Text
For this project, I started with a new 4x6 document in PS. Then I selected the gradient tool, and selected the vertical- horizontal one. Then over on the left side, I changes the siders one the different colors until I got colors that I wanted. Then I clicked and dragged across the whole frame. Next, I used the text tool to type in shazam! I then changed the color of the text. After that I clicked on text warp and clicked on wave. I changed the three sliders, horizontal, vertical, and diagonal until the word was in the desired position.
Friday, February 8, 2013
Water Drop
To create this grid of pictures, I imported the four to light room, increased contrast, and increased brightness. Then, I exported them to the desktop and imported them to photoshop. In photoshop, I opened a new 11x14 document. I clicked on view, and added 8 guides. four along the edges and four going across the inside. I then when to each picture in photoshop, clicked on image, image size and then changed the height to 4 and resolution to 300. I then copied each picture to a new layer on the new document. After all the pictures were copied to it, I clicked on a layer, went to the curves and increased all of their brightnesses all together a little more. Then I finally exported the new document to the desktop.
Wednesday, February 6, 2013
Chrysanthemum
BEFORE
AFTER
To edit this picture, I used light room to lower the exposure. Next, I exported it to the desktop and then imported it to photoshop. In photoshop, I used color range to increase glow and select the flower. Next I went back to the home screen and went to color balance and changed the sliders until I got a color that I wanted. I switched to shadows, midtones, and highlights.
BEFORE
AFTER
To make this end product, I used light room to decrease exposure. Then with photoshop, I used color range to increase glow. Then selected the flower. Next I returned to the home screen, went to color balance and messed with all the sliders in till I got this. I used shadows, midtones, and highlights.
Friday, January 11, 2013
Final
original picture
(edited picture)
First, I cropped the photo to 5x7. Second, I added contrast in PS. Then, I burned the background to make the cactus stand out. Next, I dodged some parts in the cactus to add drama. This picture shows a lot of "crunchy" texture from all the little tiny spike balls up and down the cactus. This picture looks very rough and dangerous.
(original picture)
(Edited Photo)
First, I cropped the photo to 5x7 inches. Second, I made the background very dark by burning it. Next, I dodged the cactus to make form show a little more. And last, i dodged the rocks in the pot just to add some contrast. This photo includes a large amount of form. The sphere type shape of the cactus is enhanced from the shadow on one side created by directing light from a flash light on to the other side.
(original picture)
(edited picture)
First, I cropped the image to 5x7. Next, I burned the background to only have certain arms of the cactus show. Finally, I dodged the little spikes on the arms to add highlights. This picture is all about lines because the arms start in the center and direct the eyes towards the outside, or outside to inside.
(Original Picture)
(edited picture)
First, the picture was cropped to 5x7. Next, the background was burned to make the cactus stand out. Then, some edges of the cactus were highlighted with the dodge tool to add even more contrast. This picture is about shape because of the umbrella typed shapes and hot air balloon looking shapes that were formed when the cactus grew.
Burning and Dodging
Burning and Dodging
Before
After
I used the burn tool to darken the background behind the cactus and darken the cactus next to the main one. I dodged the rocks to add highlights/drama to the picture. I used a 200 brush size with 0 hardness for burning the background. And 100 and 0 hardness for the cactus next to the main one. For dodging, I used a 100 brush size and 0 hardness on the rocks. I used highlight range for dodging and shadows for burning. As far as exposure, I didn't have to change anything.
Subscribe to:
Comments (Atom)


.jpg)
.jpg)
